|
|
Post by Soul Samurai on Sept 29, 2019 4:57:57 GMT
That's strange, in my experience gloss varnish can seem to brighten colours slightly. Perhaps it's because you applied it over a satin varnish? Why did you do that anyway? Personally I typically apply a gloss first, then a matt on top of that.
I've always applied gloss without thinning it. It usually works out fine. You do have to watch out for bubbles, but I don't think watering it down changes that. I don't think it's a problem if you put it on thick.
I don't know how much abuse vsrnish can stand up to, and I'm not sure how describe something like that anyway. It should hold up to normal gaming, but I don't recommend dropping your models on the floor.
|
|
shmeep
Junior Strategist

Posts: 742
|
Post by shmeep on Sept 29, 2019 10:21:25 GMT
That's strange, in my experience gloss varnish can seem to brighten colours slightly. Perhaps it's because you applied it over a satin varnish? Why did you do that anyway? Personally I typically apply a gloss first, then a matt on top of that. I've always applied gloss without thinning it. It usually works out fine. You do have to watch out for bubbles, but I don't think watering it down changes that. I don't think it's a problem if you put it on thick. I don't know how much abuse vsrnish can stand up to, and I'm not sure how describe something like that anyway. It should hold up to normal gaming, but I don't recommend dropping your models on the floor. Part of the reason was because I wanted to see what kind of effect it would have, but after applying the first layer of satin it was bothering me that I could barely tell apart the varnished models from the non-varnished ones. Once I get some matte varnish I'll switch either to the 1xgloss 1xmatte method or 2xgloss 1xmatte. alright, that's good to know. haven't had any trouble with bubbles so far. everyone in my family has a bad case of spaghetti fingers, when we accidentally launch a mini across the room I doubt any amount of varnish would help. it's the gaming part I was worried about. in your experience do you need to reapply varnishes regularly? |
|
|
|
Post by Soul Samurai on Sept 29, 2019 10:46:53 GMT
I've never had to reapply a varnish myself, although lately my models haven't been getting all that much use... sigh...
|
|
shmeep
Junior Strategist
Posts: 742
|
Post by shmeep on Oct 5, 2019 0:29:03 GMT
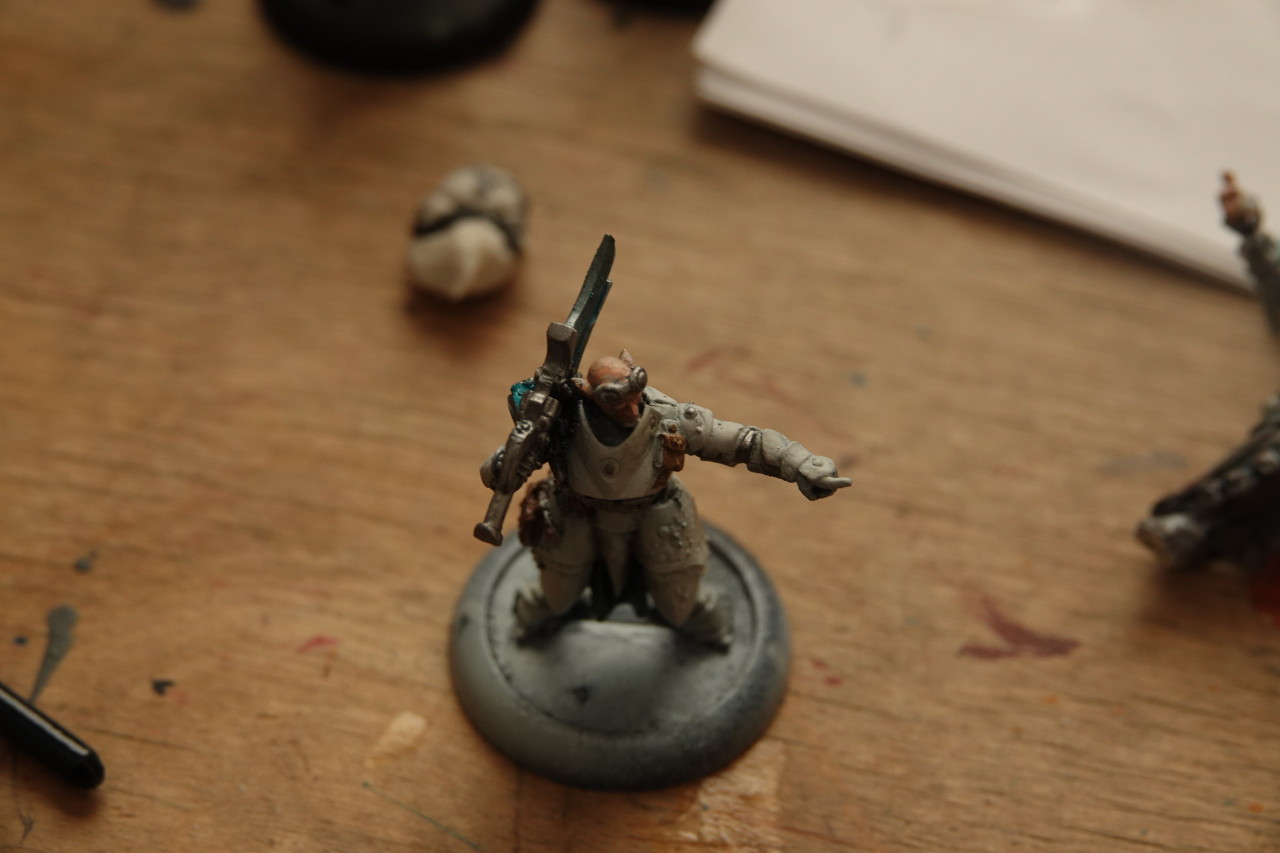
Fellas, a quick question about gap filling and sub assemblies - I've finally started working on my EBDT (after 9 months ;-; ), and there's massive gaps on all of his contact points. Easy enough to fill, but what's bothering me is this - in what order should I do all of this?
I assume I should assemble it as much as I can without it becoming unwieldy, paint everything, apply 1 layer of varnish(?), fully assemble, fill the rest of the gaps, paint over the putty, and then varnish the rest of the way?
from my experience greenstuff doesn't paint that great without primer. if I varnish before I GS, the color might look a bit odd(?), but if I don't some of the paint might scratch off.
What should I do?
|
|
|
|
Post by Soul Samurai on Oct 5, 2019 9:30:09 GMT
When you have to parts to fit together that need some gap filling, what you can do is clean them up then apply a bit of superglue to one side, add greenstuff, then press the two parts together. Shape the greenstuff, then leave it all to dry.
Then you can carefully remove one piece; greenstuff doesn't bond all that strongly to surfaces on it's own, but it does with superglue, so the greenstuff should hold on tightly on the glued side but not the other.
Now you can prime, paint etc, and finally stick everything together with the gaps already filled.
|
|
shmeep
Junior Strategist
Posts: 742
|
Post by shmeep on Oct 22, 2019 6:18:00 GMT
|
|
|
|
Post by Soul Samurai on Oct 22, 2019 7:34:48 GMT
I use a foldio1 mini studio, with the black backdrop. They are not too expensive, don't take up much room, and go a long way towards showing your model in a good light. Or just make sure to photograph against a black backdrop with the light coming from in front. |
|
shmeep
Junior Strategist
Posts: 742
|
Post by shmeep on Oct 22, 2019 12:43:36 GMT
|
|
|
|
Post by Soul Samurai on Oct 22, 2019 13:12:44 GMT
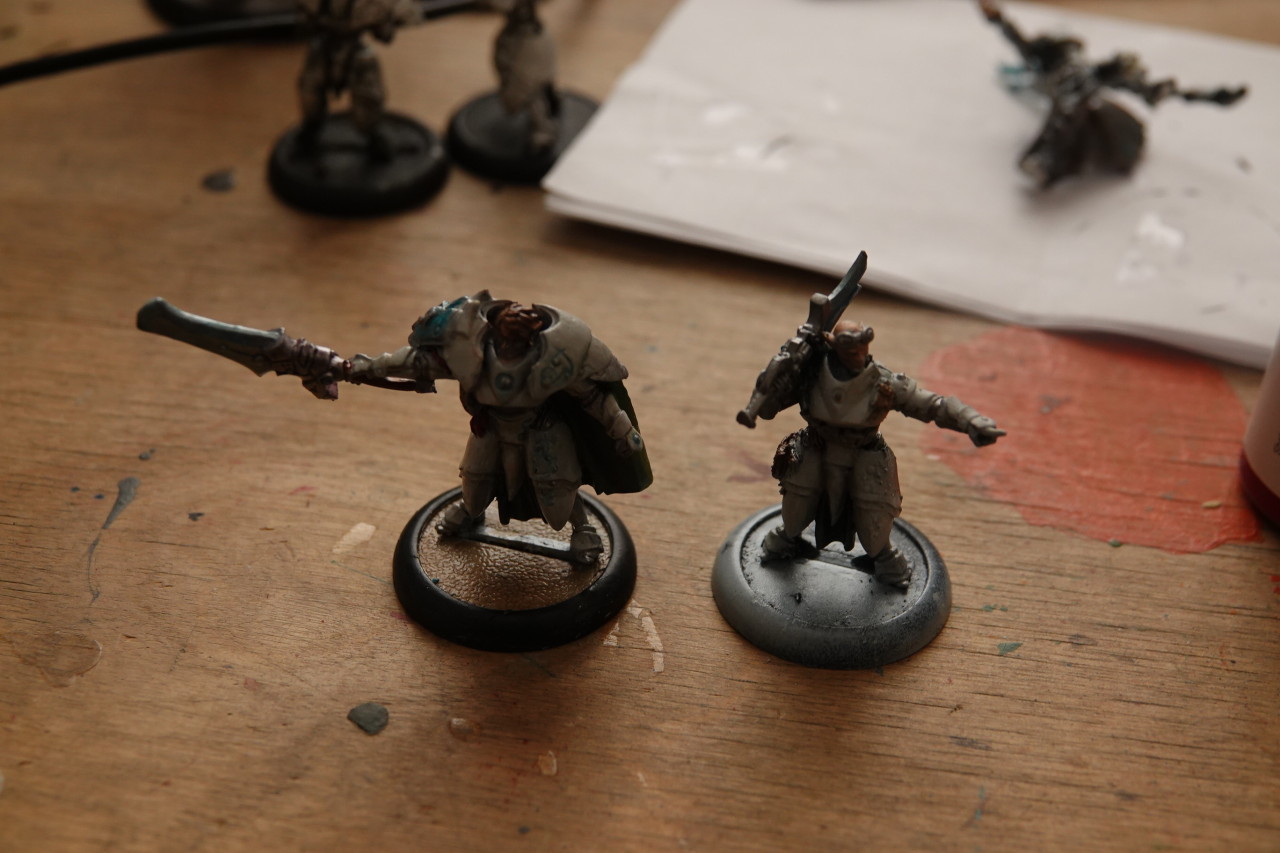
I think that's already a big improvement. Zooming in a bit more or getting closer to the models so they fill the image better, or of course cropping the image in software, will make them easier to appreciate as well - right now there's just a lot of empty space filling the images.
The photos are still a bit dark too. If you have a camera that allows you to adjust shutter speed or aperture size you might be able to tweak the settings in order to make the models look brighter. Alternately you can tweak contrast and brightness in software; while this can create good-looking photos it doesn't necessarily create accurate or realistic ones (i.e. photos that match how the models look in real life), it depends on how heavy-handed you are I suppose. Personally I very rarely touch up photos in software anymore, preferring to try to get the camera to take good pictures and leave it at that. Feels more "authentic" I suppose.
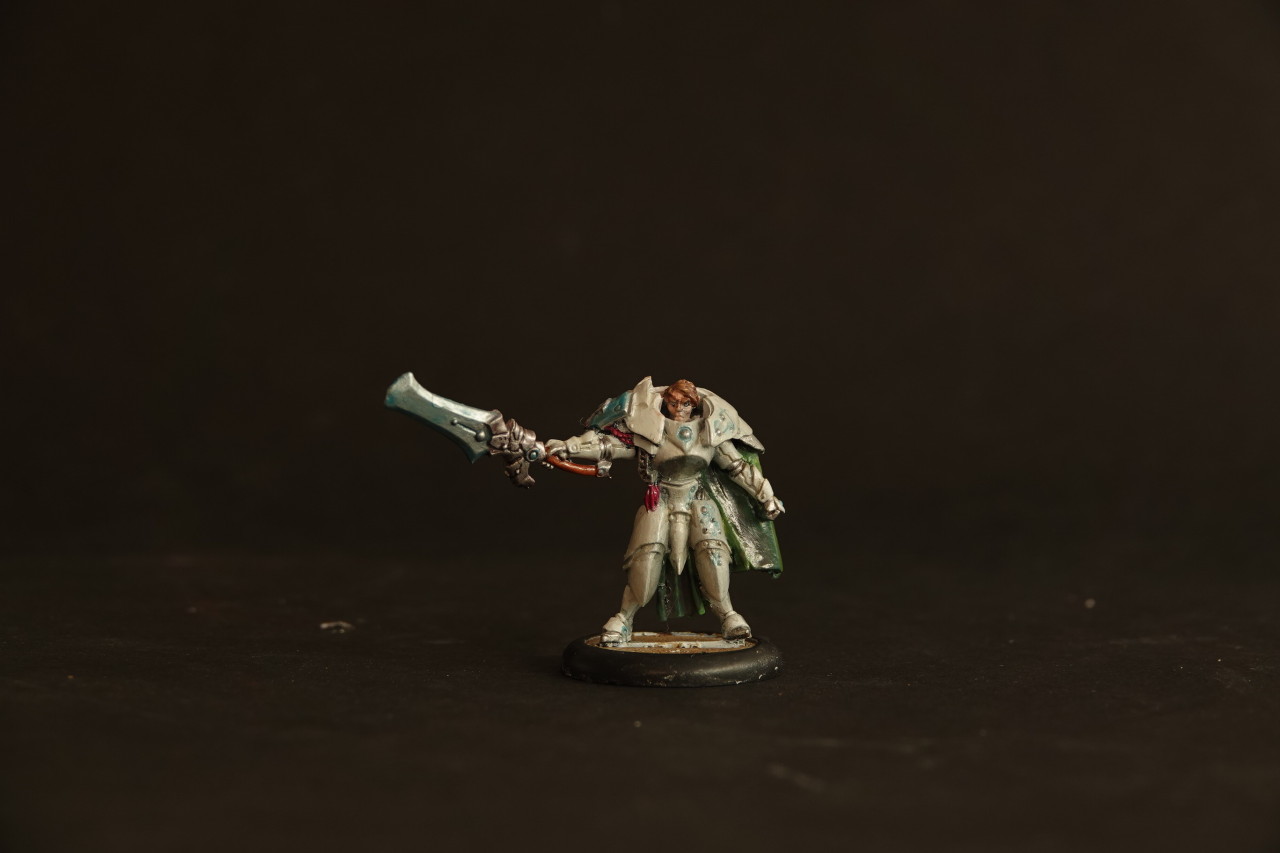
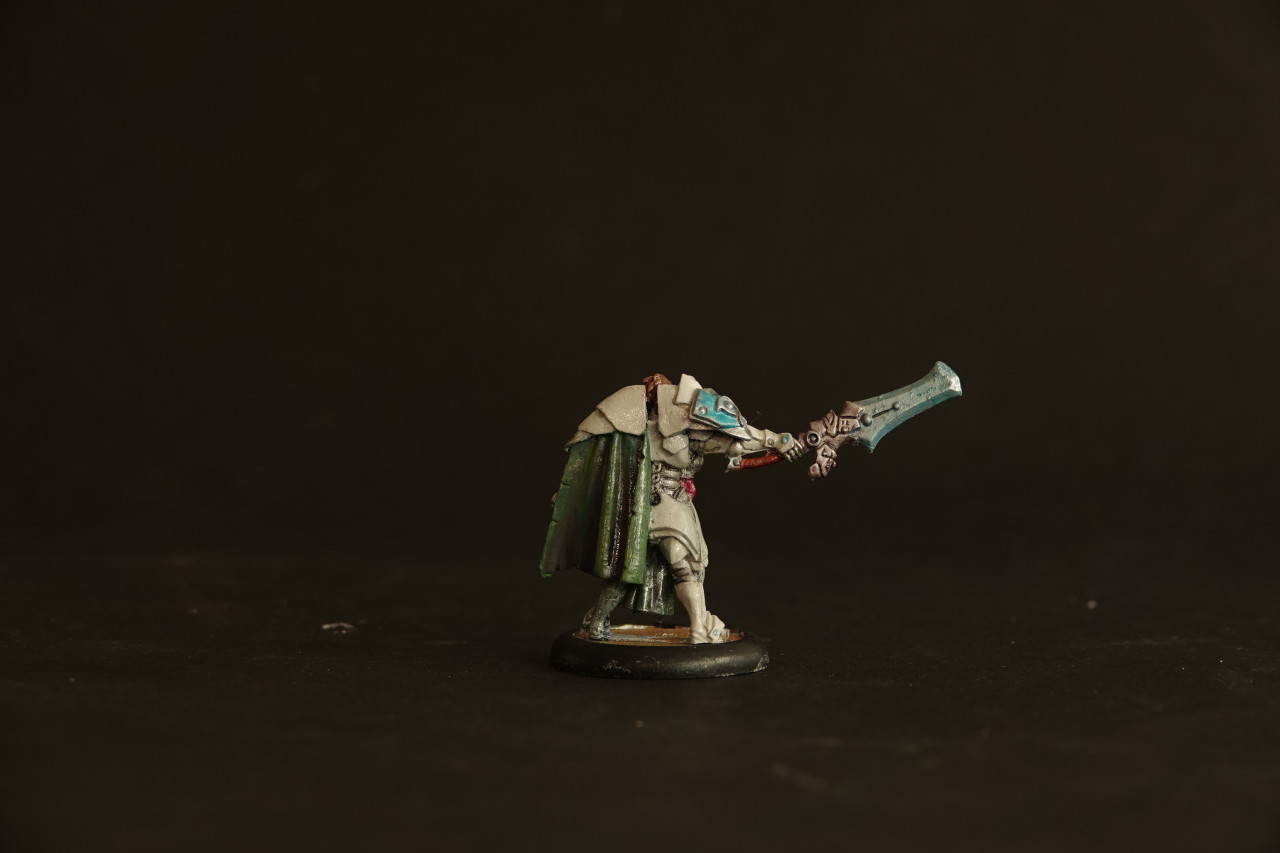
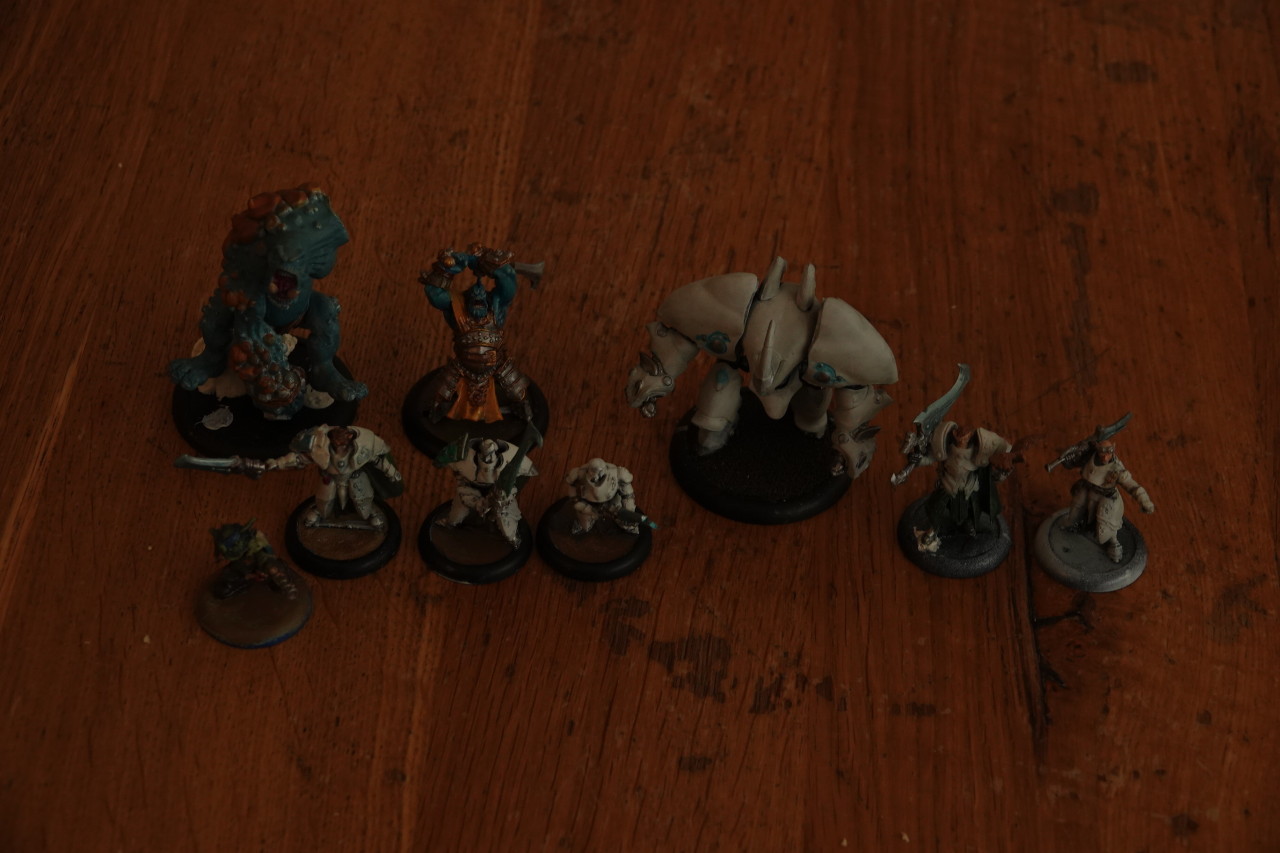
I'd like to give some feedback on the models but to be honest they are a little too small in the photos for me to say very much of interest. I like the tinted metals on the Retribution fellows, but their armour and cloth are looking a bit flat and could probably do with a more agressive highlight (although it could just be the lighting to be honest). Also I'm not sure that foresty green is a good match for the rest of the colours.
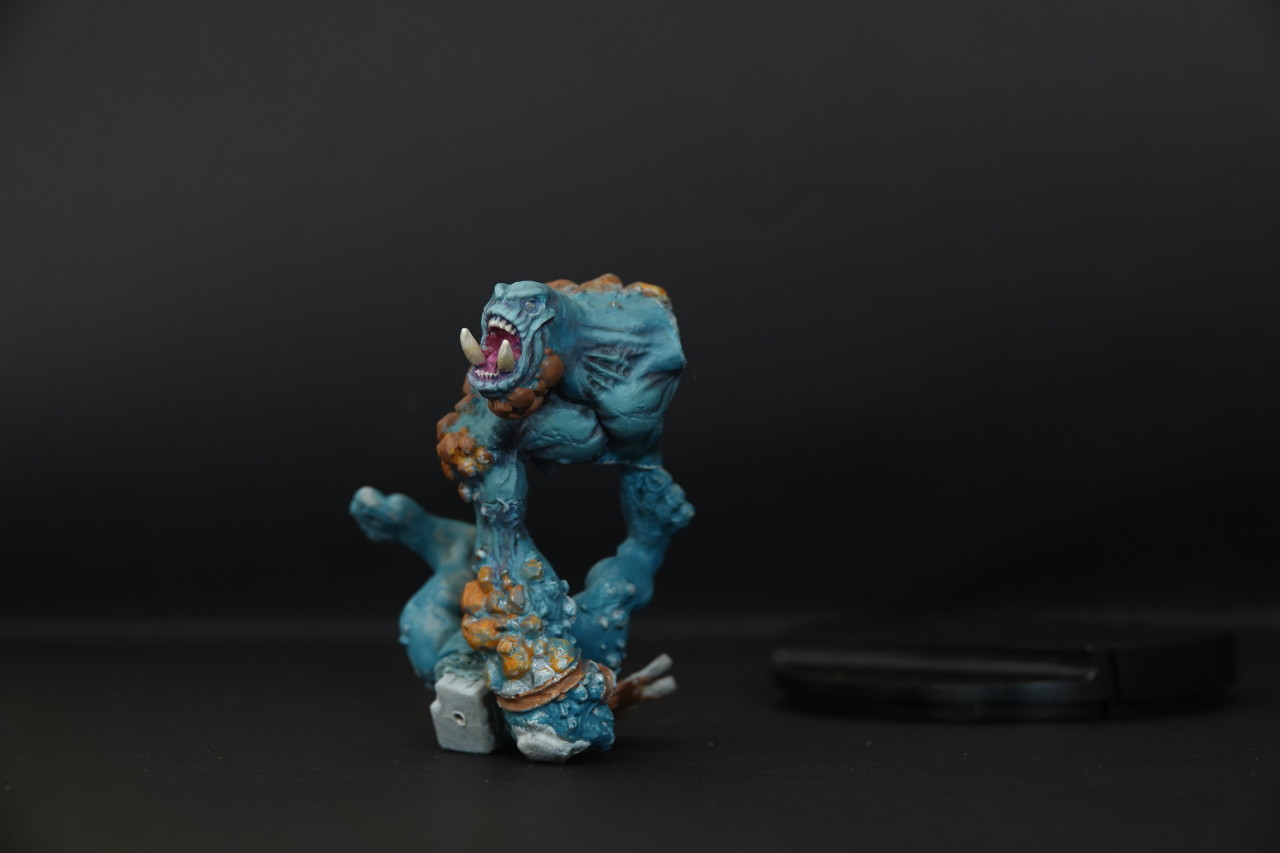
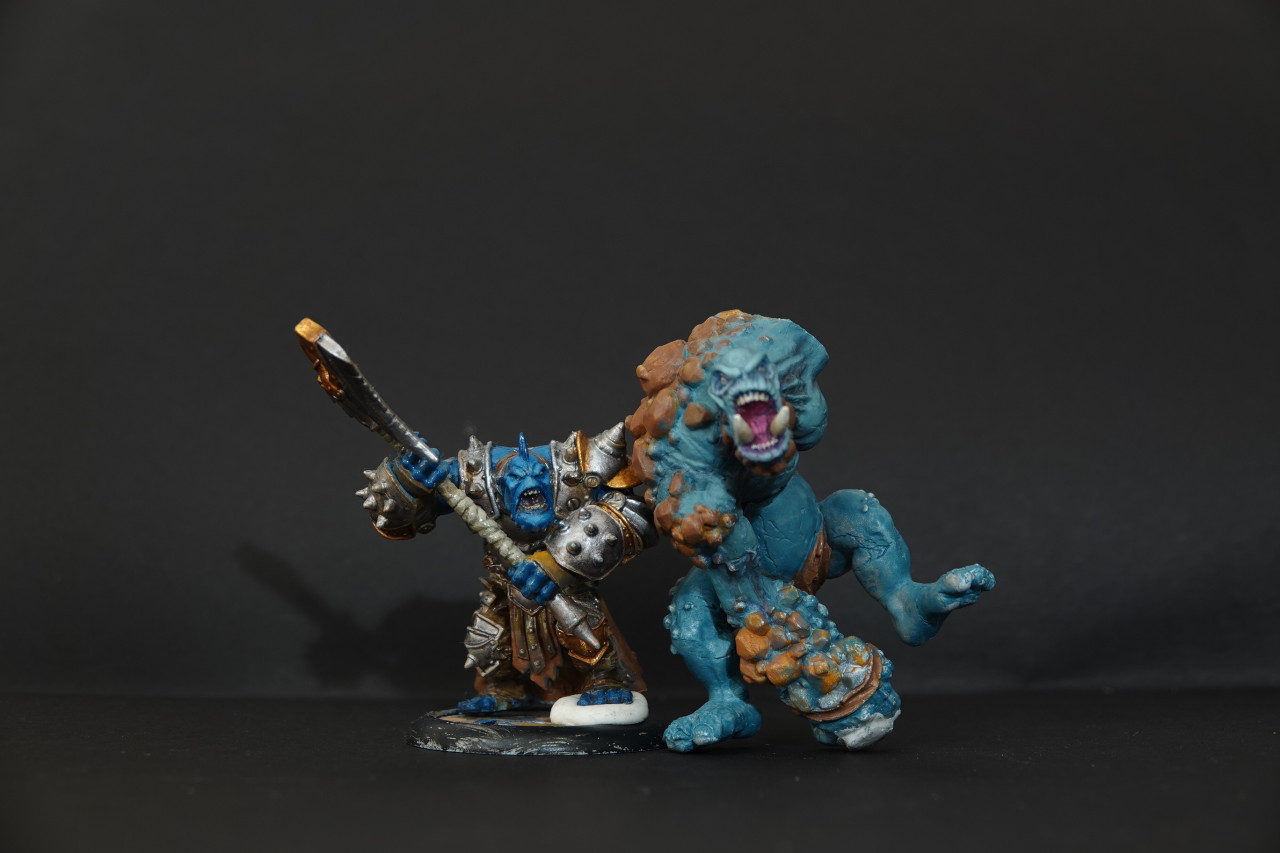
The Troll is looking good, I really like the slightly rusty steel effect. The only thing I could suggest would be to try to add a bit more contrast into the brass part of the shield: while the still part has the rust in the recesses giving it definition and visual interest, the brass part is a bit flat - a problem for such a large area. Perhaps apply some turquoise paint the same way you applied the brown for the rust, to create a verdigris effect?
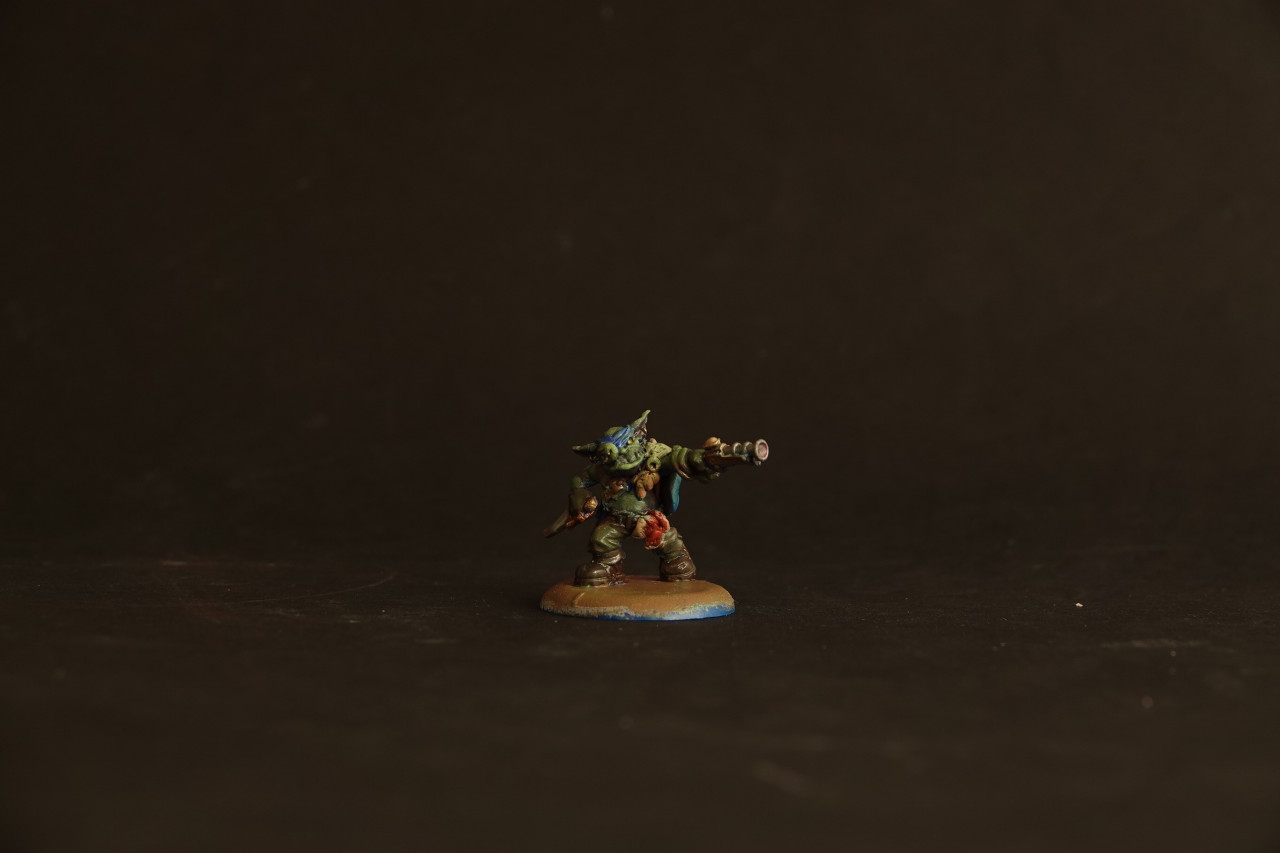
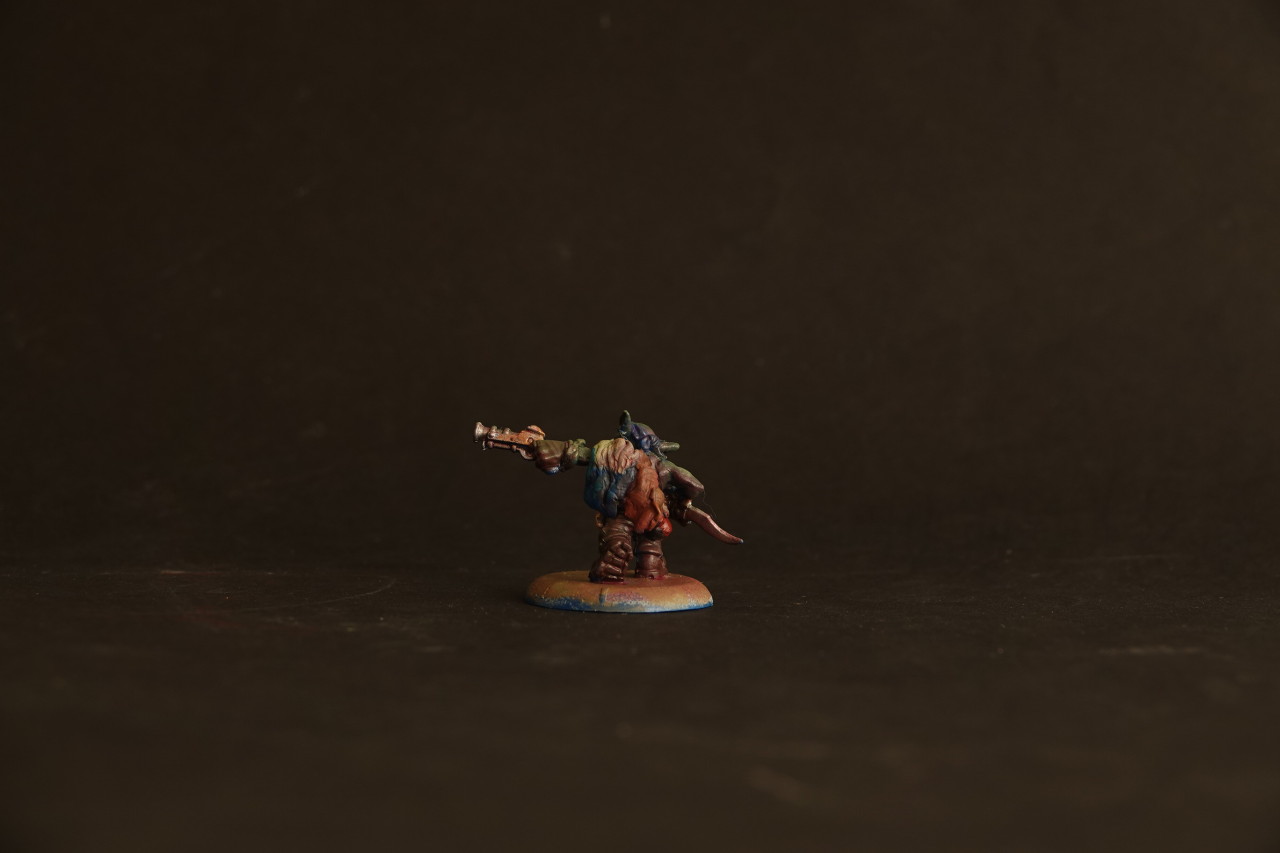
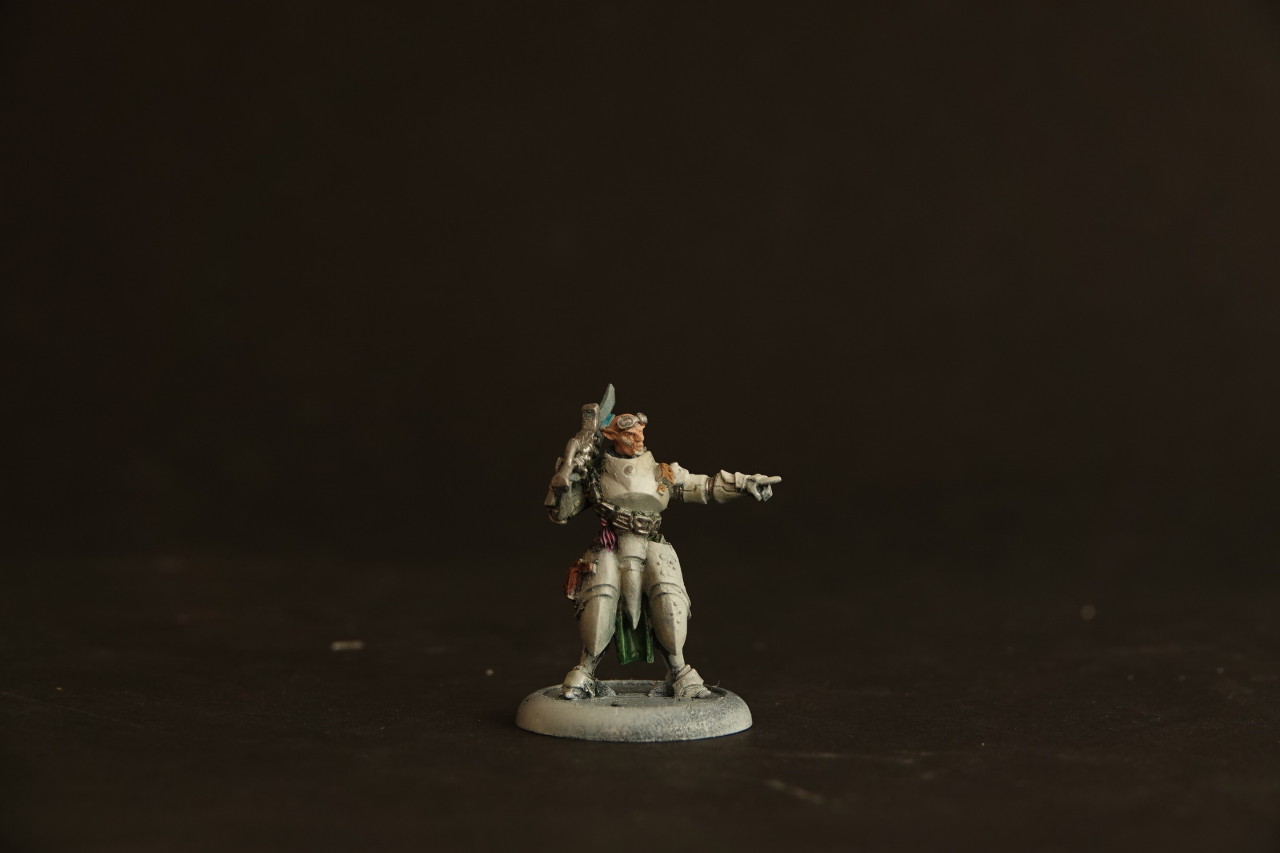
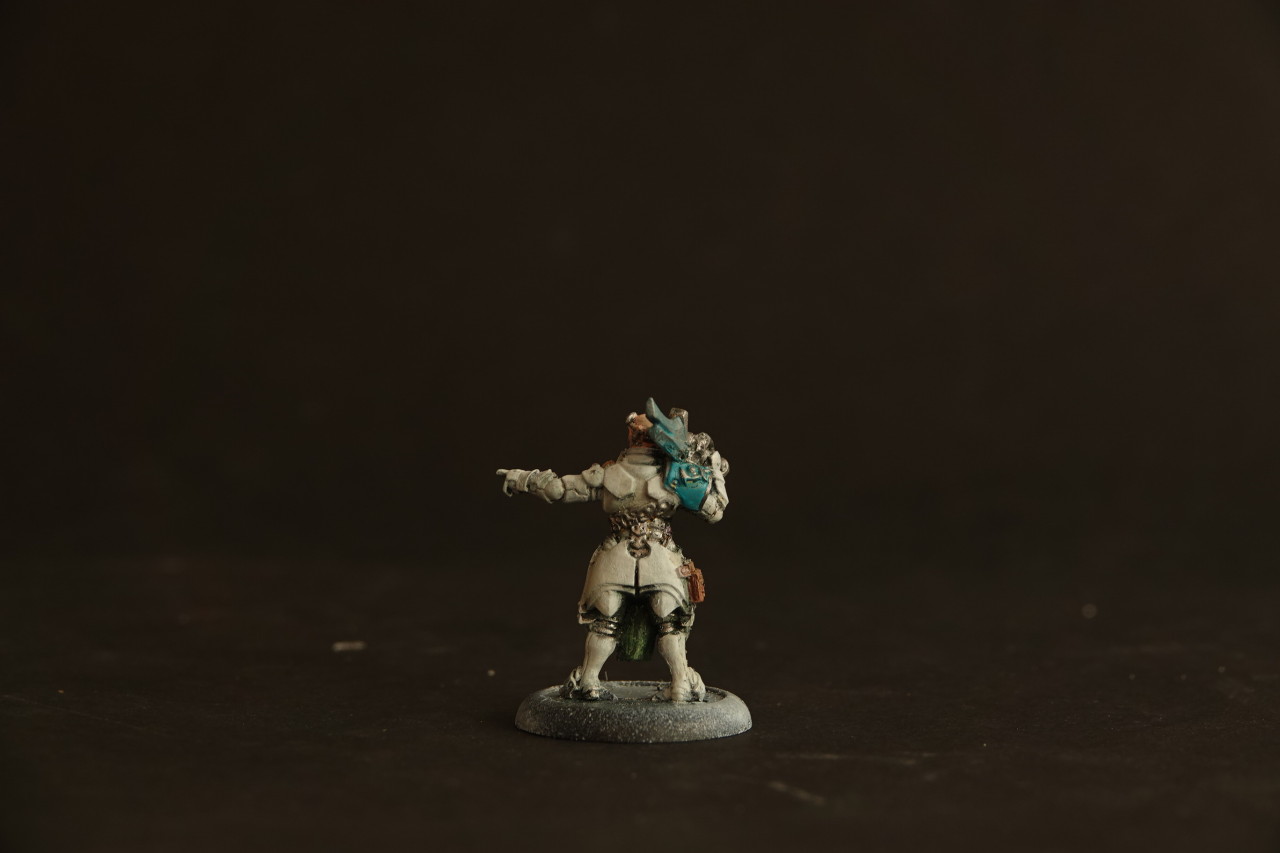
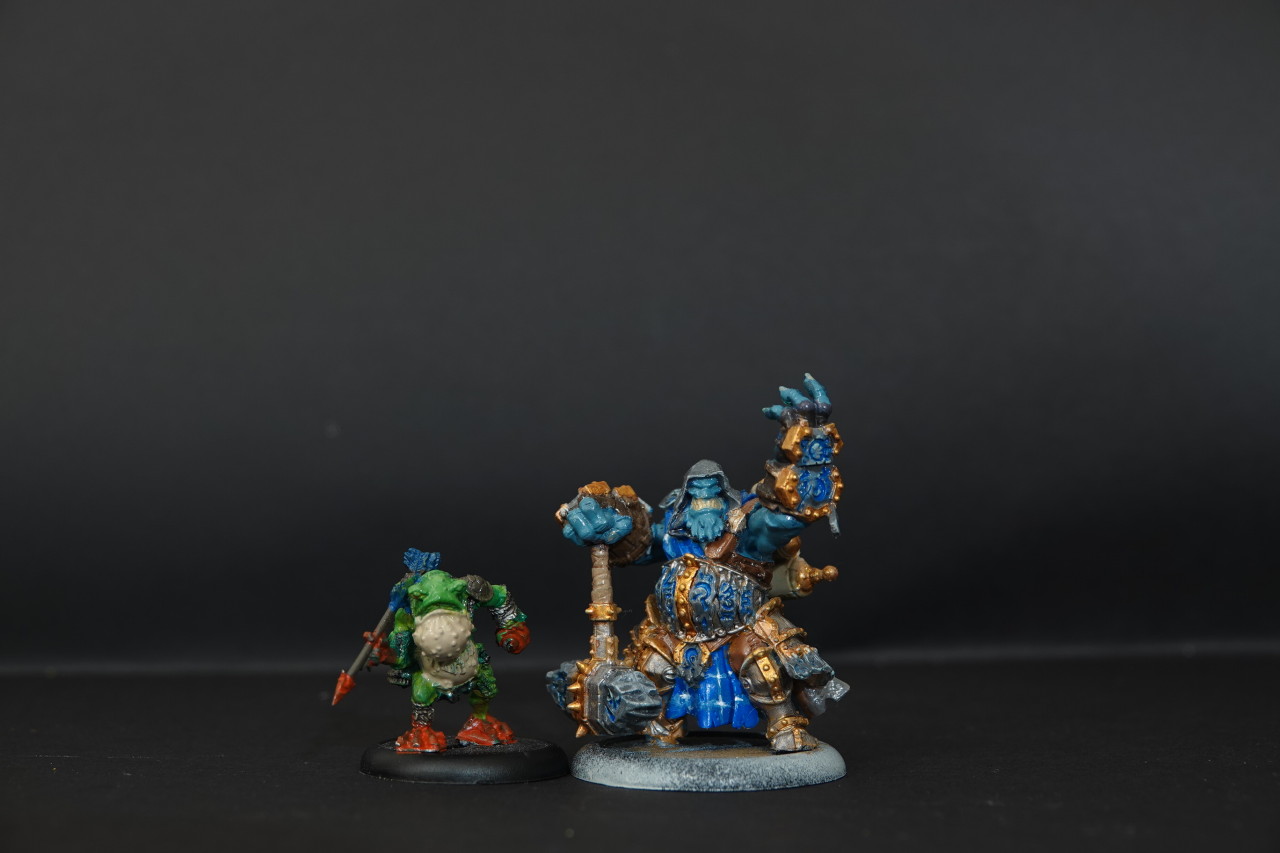
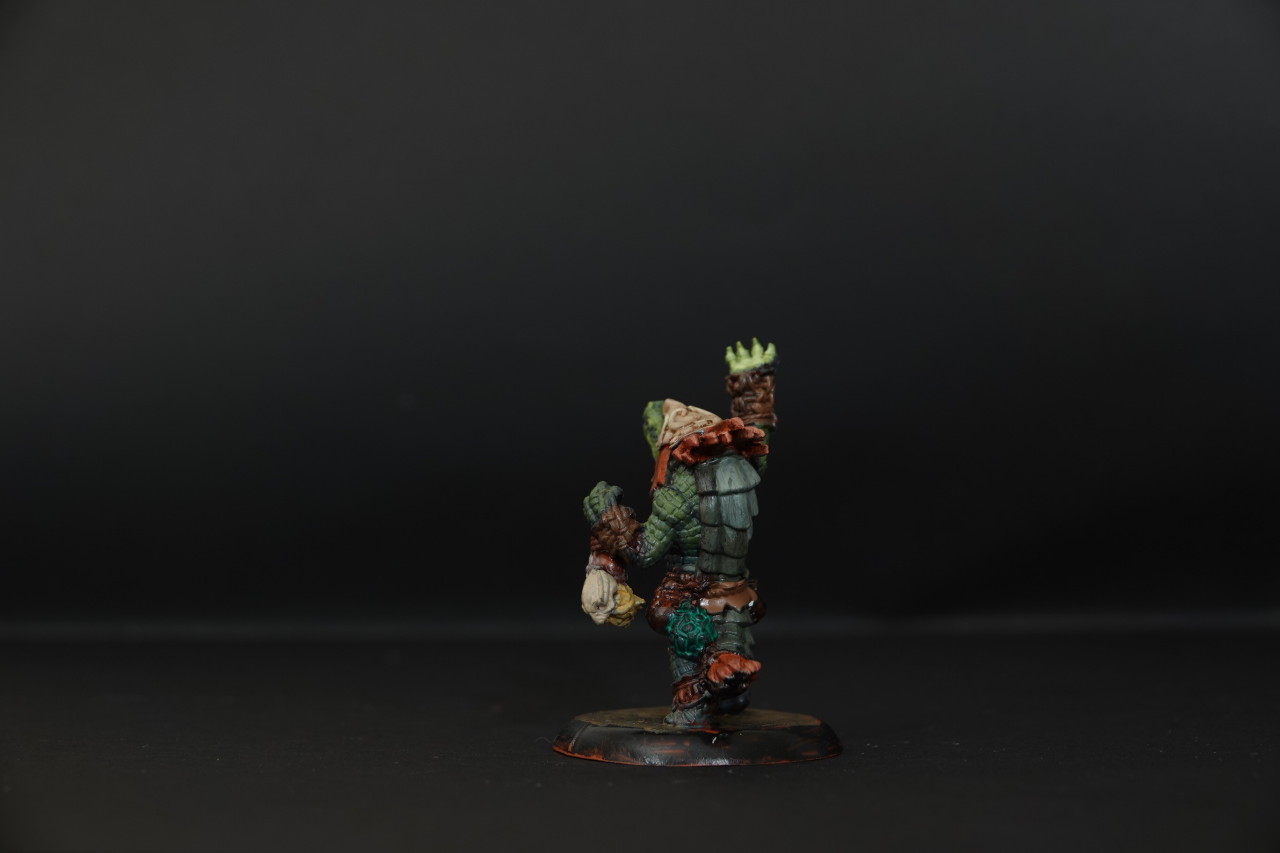
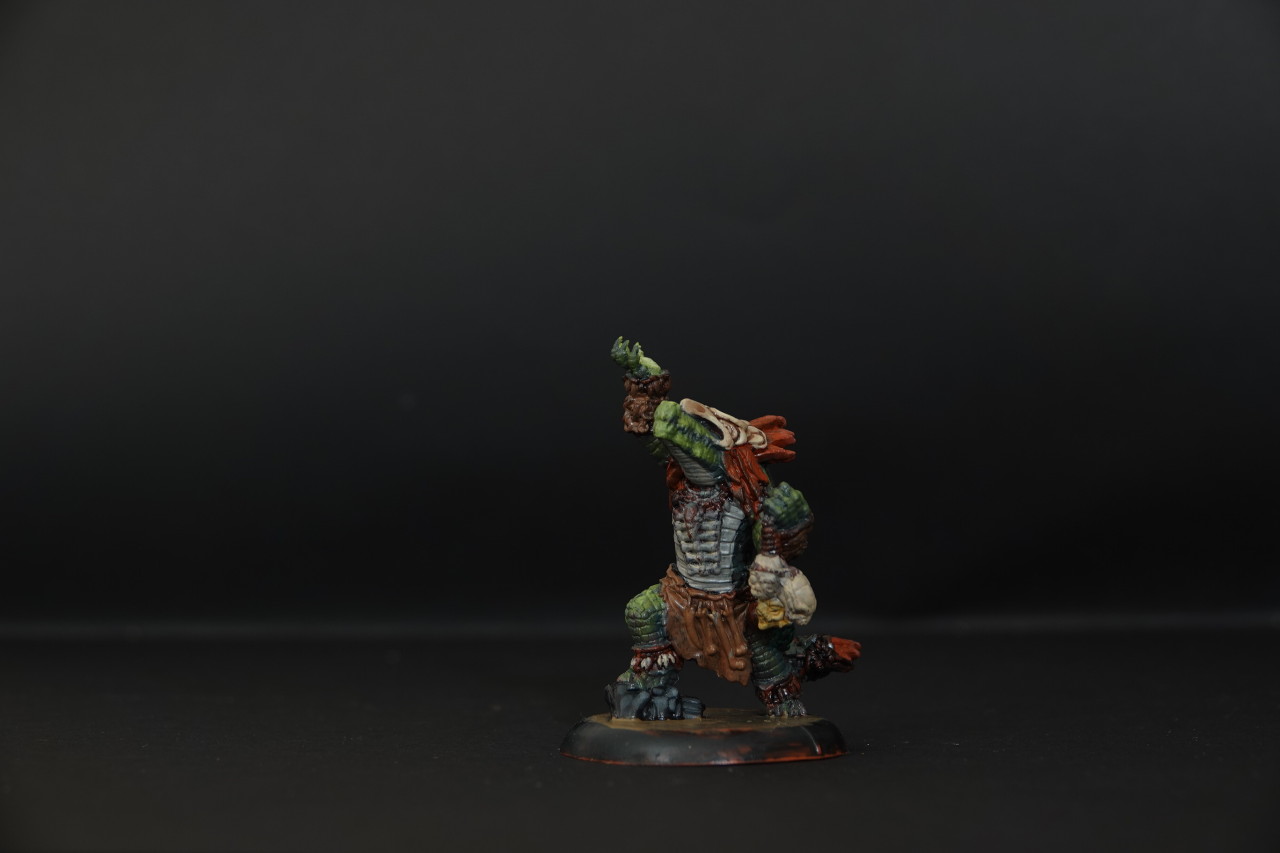
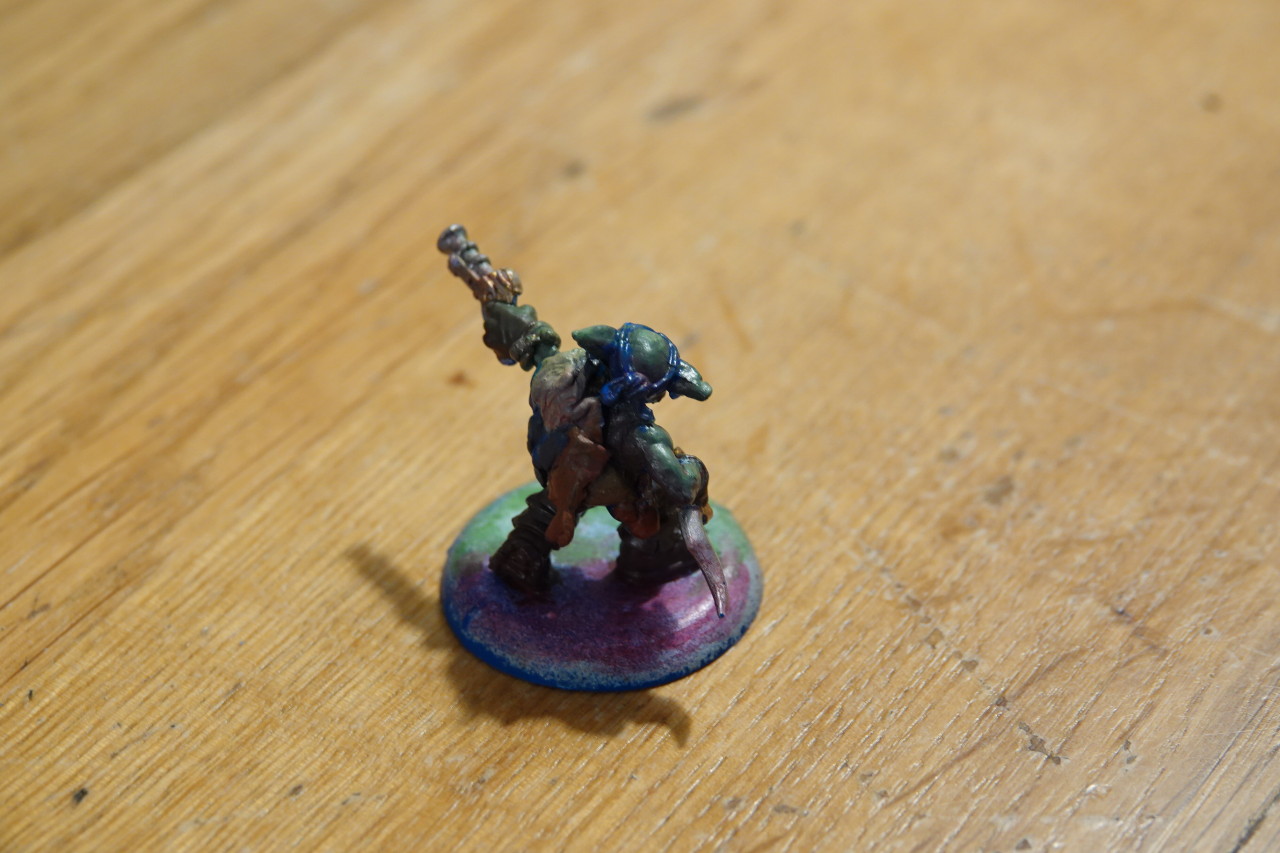
The Gobber is looking pretty good, but he's a little hard to read (in these photos at least) because there's too much green: the green cloth is too close to the green skin so I can't tell if he's wearing a shirt (or trousers) or not, or what's going on over his eye. I can't tell what that red thing is on his belt, and from the back he has a lot of colours but I can't tell what they actually are - furs maybe?
|
|
shmeep
Junior Strategist
Posts: 742
|
Post by shmeep on Nov 20, 2019 5:40:39 GMT
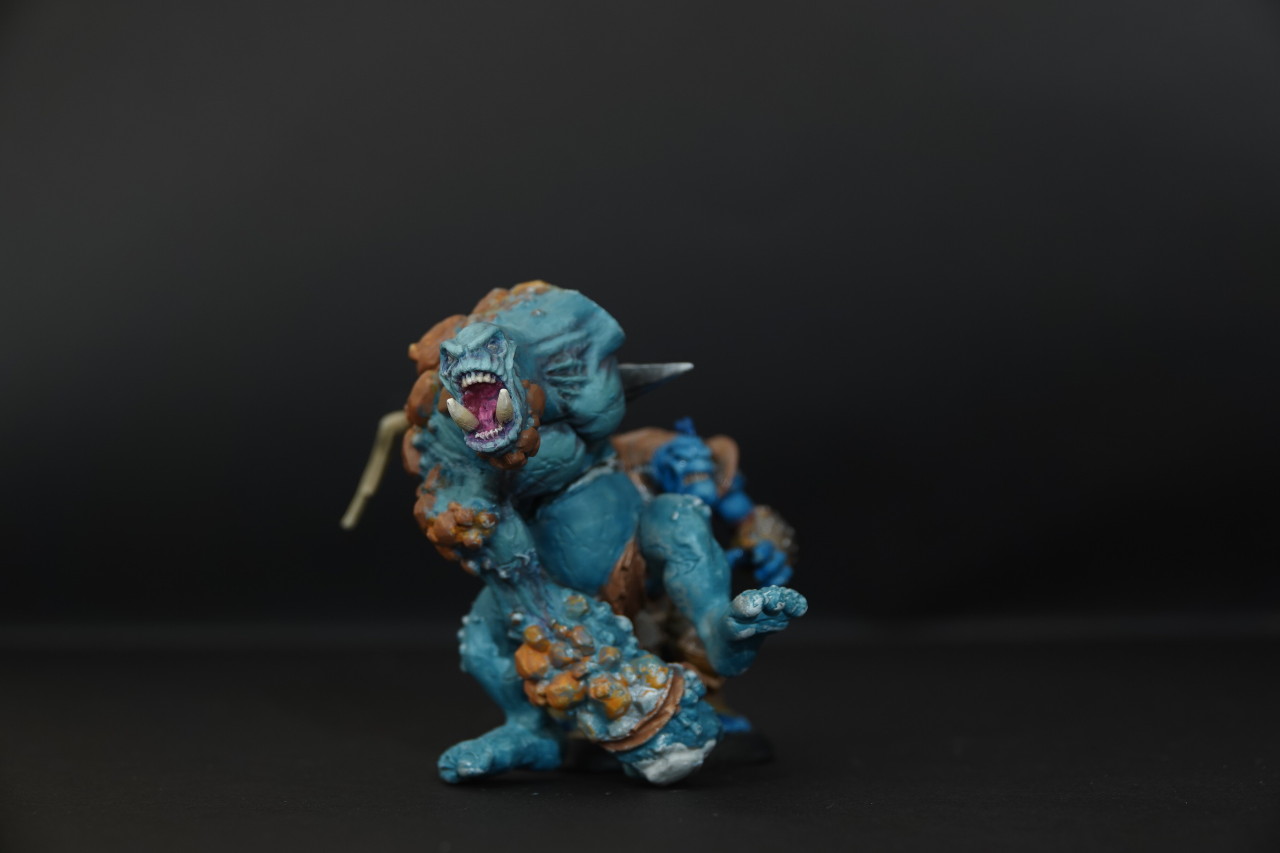
An odd observation - maybe it's just this batch, but TBH isn't very good for highlighting troll skin. I've tried menoth base (as per the bouncer experiment) and MWH and the results look a lot better imo. I'll experiment with mixing pure white into the TBH; the hue is good, I think, the value just needs a ton more brightness.
I've also noticed ryn flesh/TBH make the skin look extremely dry and chalky. Pure white/MWH makes it look much more vibrant. I think I prefer it that way.
Pics of EBDT test soon.
|
|
shmeep
Junior Strategist
Posts: 742
|
Post by shmeep on Nov 22, 2019 23:11:18 GMT
Still haven't taken any pics, but another small note - I'm kind of shocked by how good of a highlight color MWH is. I felt like my EBDT is a bit flat, so I mixed in a bit - looks great. I decided to renovate the faces on my axer and impaler - look WAY better now. Even works on gators.
I don't want to become too dependant on it (like I did with idrian flesh), so I'm still testing Ryn and Oriental flesh as highlight colors, but god damn is it a great color. It works like pure white, but it doesn't have a lot of its drawbacks.
Also - really, really need to start posting my skin color recipes. I have a different method for Gobbers, Croaks and Gators and I keep forgetting what goes where.
|
|
shmeep
Junior Strategist
Posts: 742
|
Post by shmeep on Nov 23, 2019 19:54:56 GMT
|
|
shmeep
Junior Strategist
Posts: 742
|
Post by shmeep on Nov 23, 2019 19:57:52 GMT
|
|
shmeep
Junior Strategist
Posts: 742
|
Post by shmeep on Nov 23, 2019 20:03:07 GMT
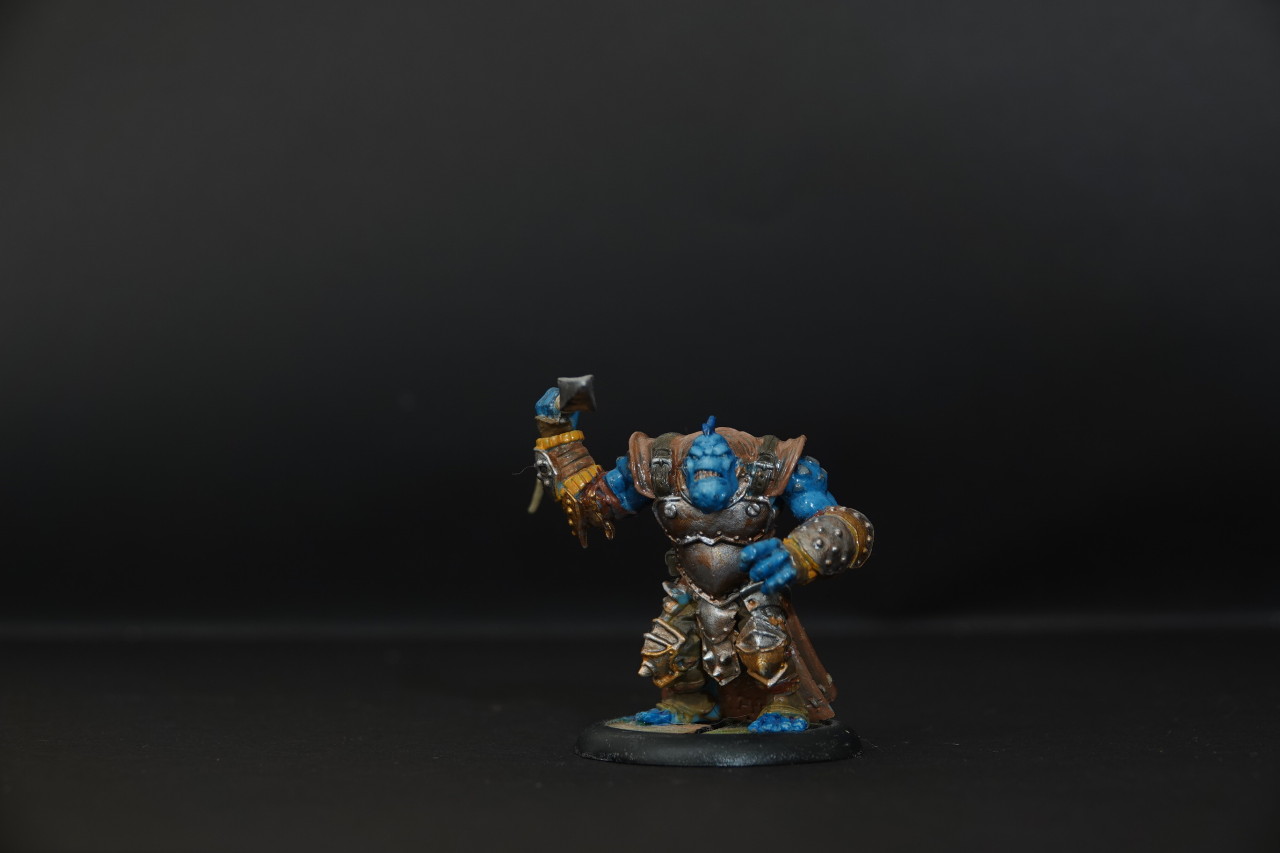
shame my old pics weren't that good, it's a lot harder to get a grasp on what my minis looked like back then because of it. 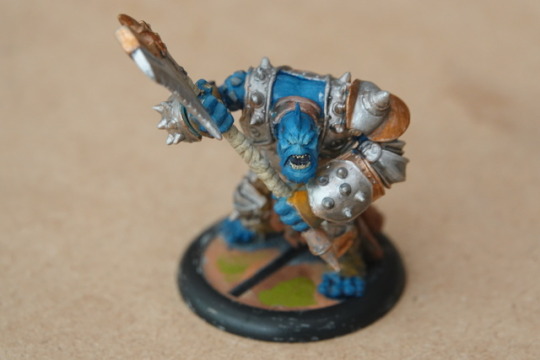 Comparing the Axer to back then, I definitely feel like he pops a lot more now, but there's a good chance I'll do another pass and add even more peak highlights to the center of his face. He doesn't pop on the table quite as much as the Impaler right now, which bothers me a bit. |
|
shmeep
Junior Strategist
Posts: 742
|
Post by shmeep on Nov 24, 2019 15:51:00 GMT
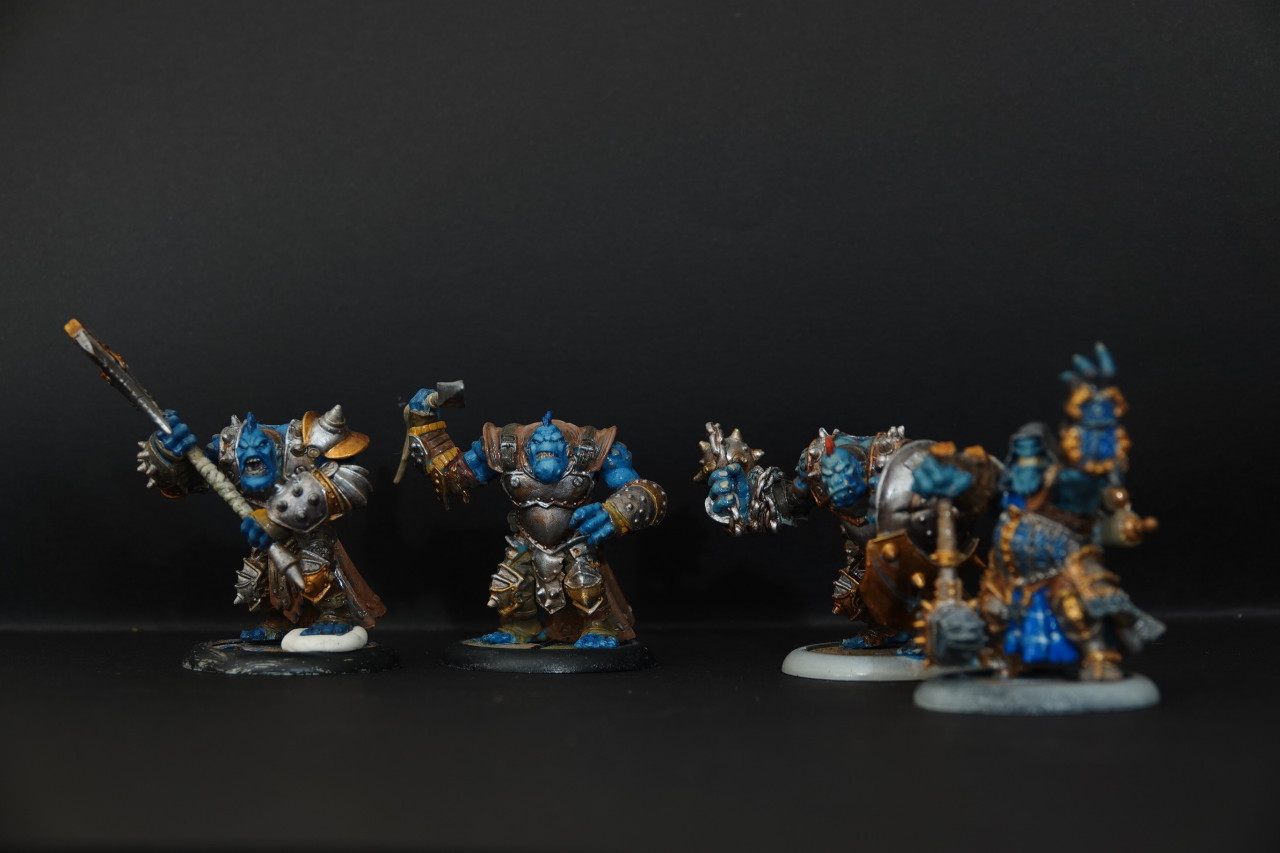
 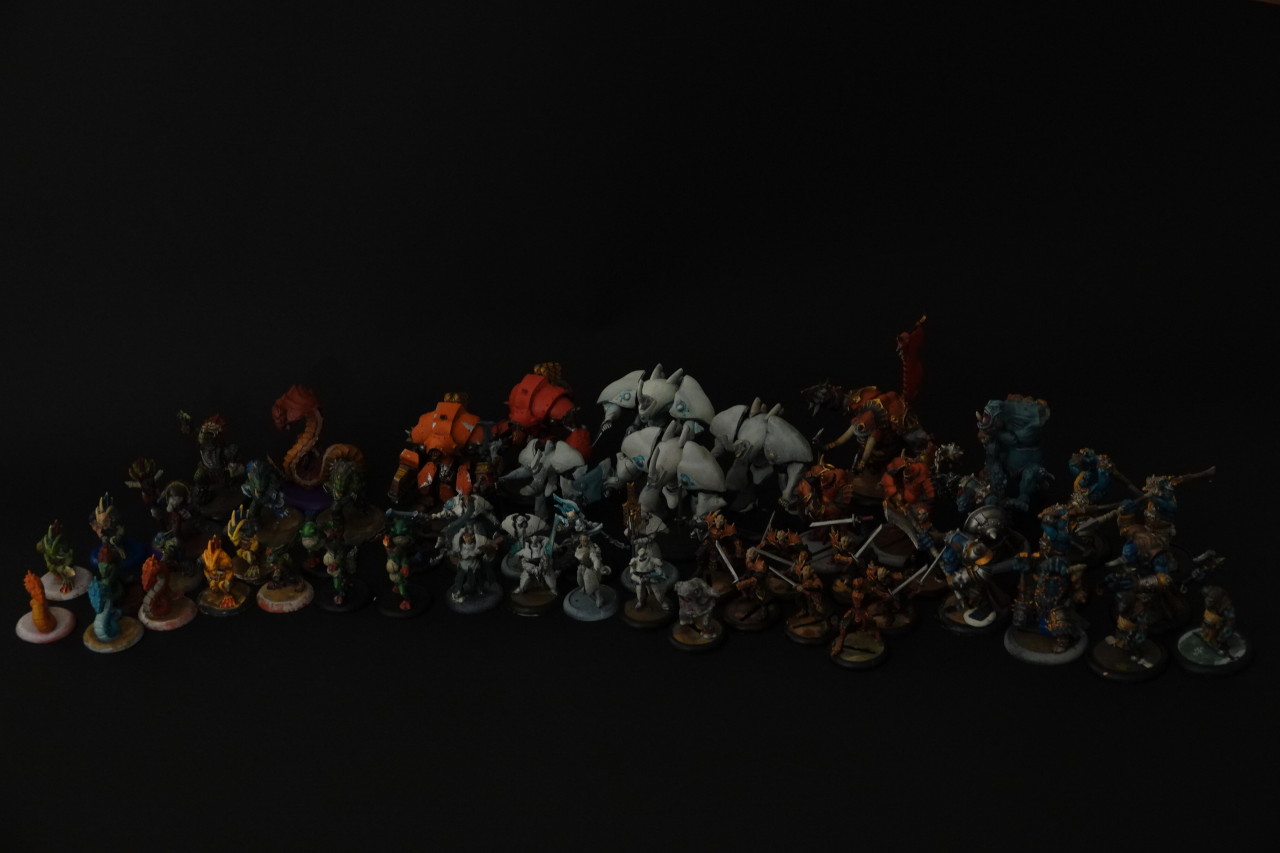 Here's a lineup of almost every mini I've painted. I need to start being more goal oriented with these, focus more on finishing each individual model/unit, right now my attention's spread out over a dozen different models at a time. |
|


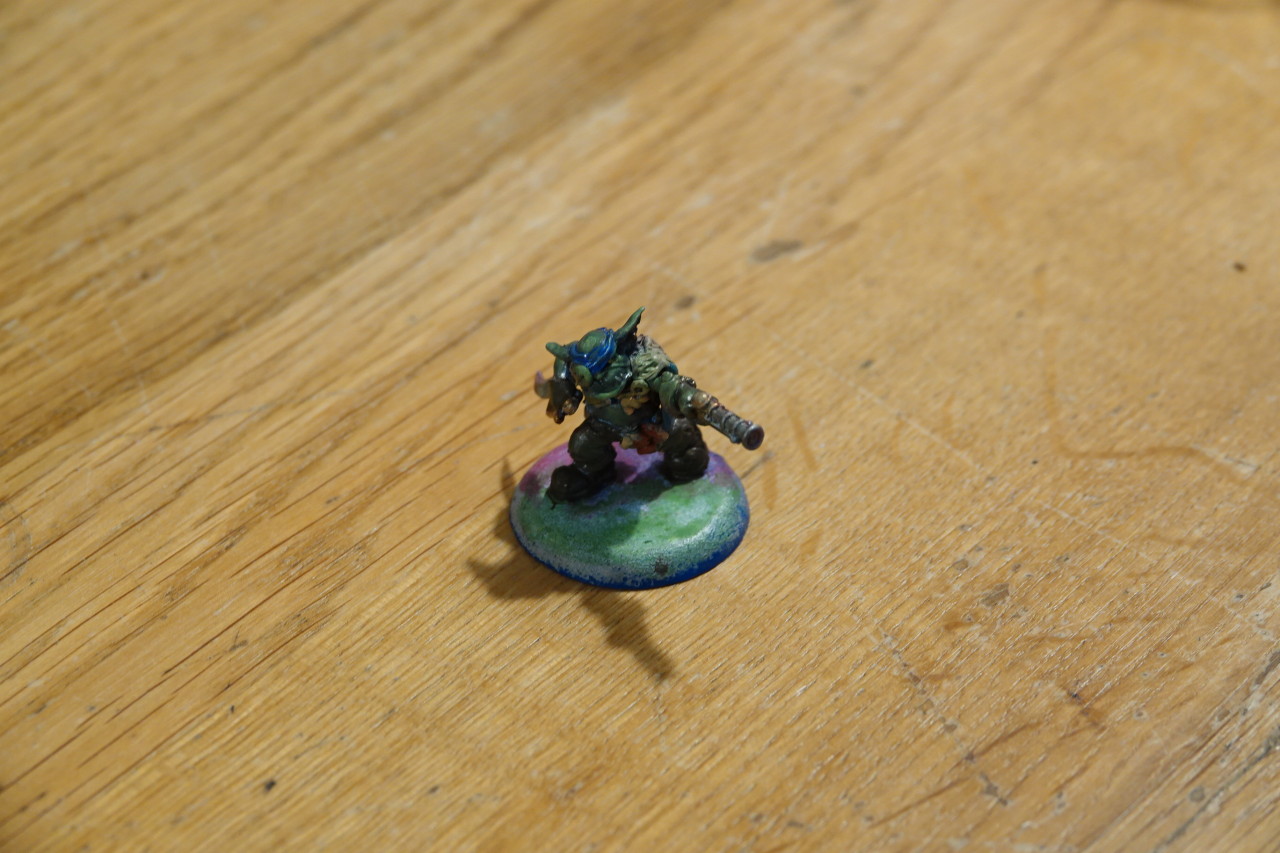
 Tried to do a bit of an OSL effect on the gobber. Not bad for my first try, I think.